Create your first project
A project in Umaku is the central workspace where work is planned, executed, and tracked from start to delivery. It brings together objectives, timelines, team members, stakeholders, and technical resources in one place.
Projects provide everyone involved, including Product Owners, delivery teams, clients, and stakeholders, with a shared view of progress, updates, and ownership. Each project serves as the single source of truth for collaboration, execution, and status tracking.
Why create a project?
Section titled “Why create a project?”Creating a project in Umaku helps you:
- Keep all project information, documentation, and technical assets in one place
- Align teams and stakeholders around shared goals and real-time progress
- Define timelines, priorities, and responsibilities with clear ownership
- Maintain consistent visibility into project status and delivery updates
When work is structured within a project, Umaku can provide deeper insights beyond basic tracking.
AI-powered insights
Section titled “AI-powered insights”Projects in Umaku unlock AI-powered insights generated by intelligent agents. These insights help teams move from tracking work to actively understanding how it’s progressing.
Within a project, Umaku can:
- Analyze code changes against tickets and commit links to assess alignment between requirements and implementation
- Generate automated sprint-level insights, such as: sprint inclusion, code quality signals, DevOps compliance checks, and bug detection
These insights help teams identify risks earlier, improve delivery quality, and support continuous learning throughout the project lifecycle.
Two ways to create a project
Section titled “Two ways to create a project”You can create a project in Umaku in two ways, depending on how defined your initiative is.
Create manually
Section titled “Create manually”Use this option when you already have a clear understanding of your project’s scope and structure.
You define:
- Project details and documentation
- Timeline and priority
- Team members and stakeholders
- Technical resources and links
Create with AI
Section titled “Create with AI”Use this option when your idea is still forming or when you want guidance.
By answering a short set of questions, Umaku uses AI to:
- Understand your goals and pain points
- Capture technical and operational requirements
- Generate a structured project that you can review and refine
Tutorials
Section titled “Tutorials”Create your first Project
Section titled “Create your first Project”Use Create manually when you already have a clear idea of your project’s scope, objectives, and structure. This option lets you define key details upfront while keeping full control over how your project is set up. You can start with the required fields and refine the project as it evolves.
-
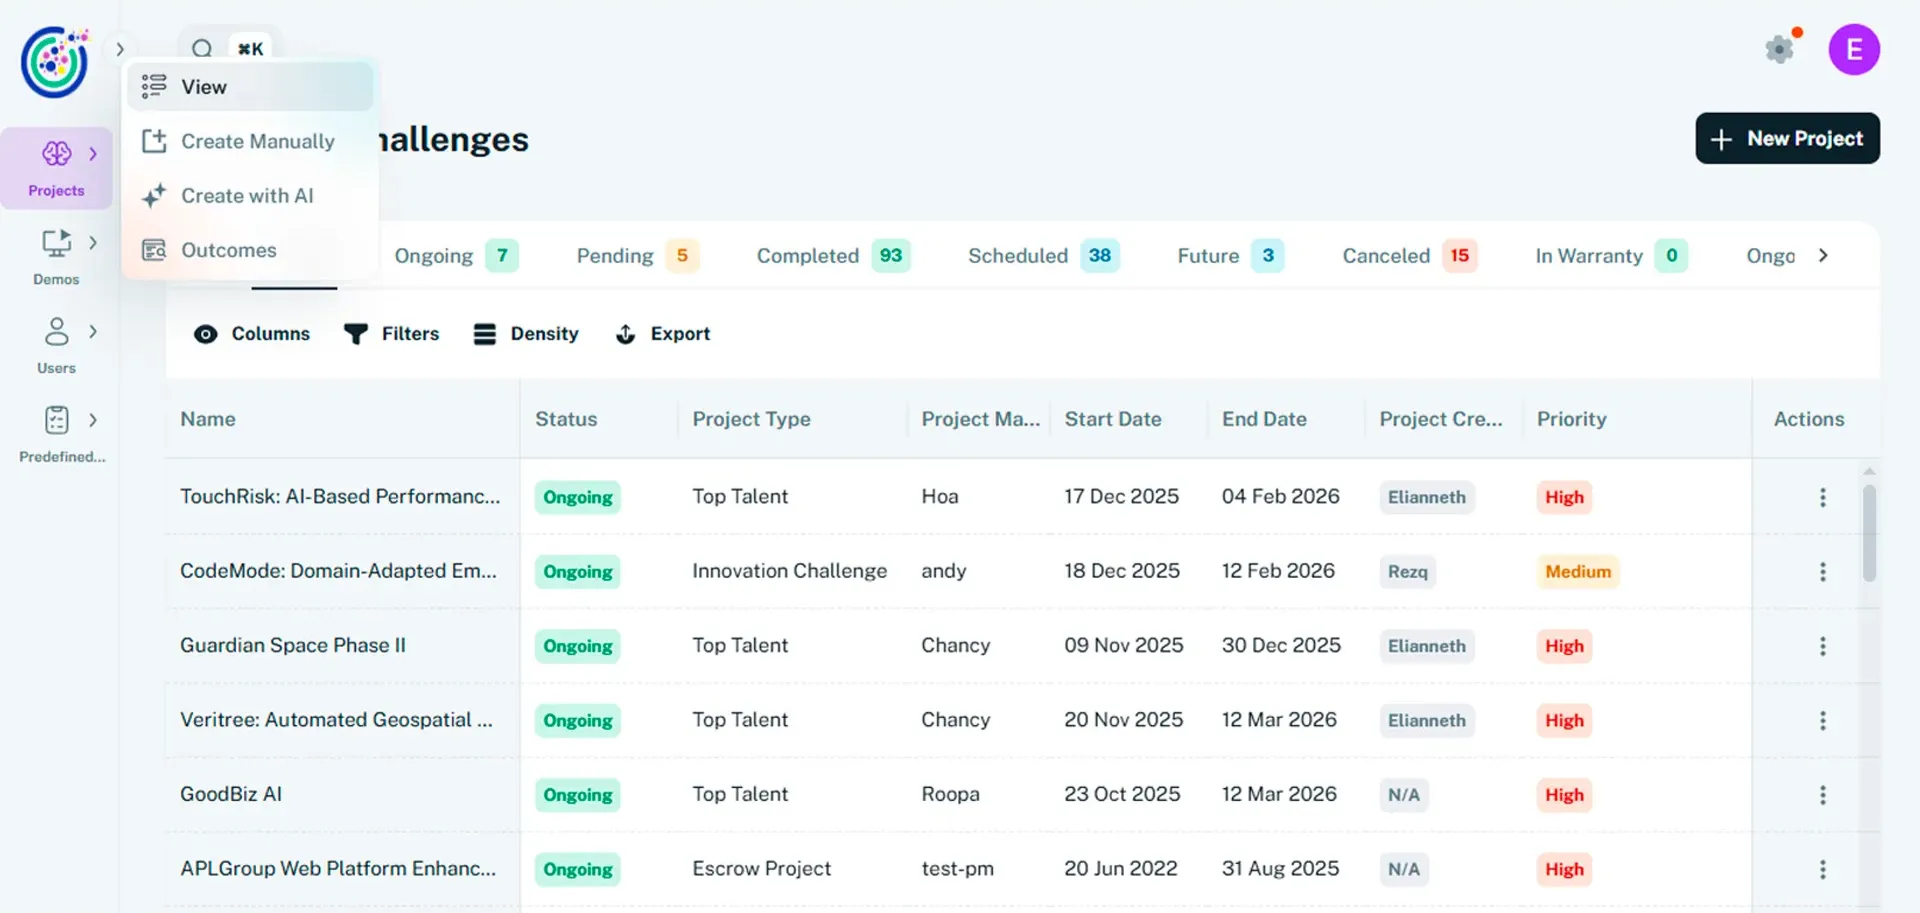
Open the project form
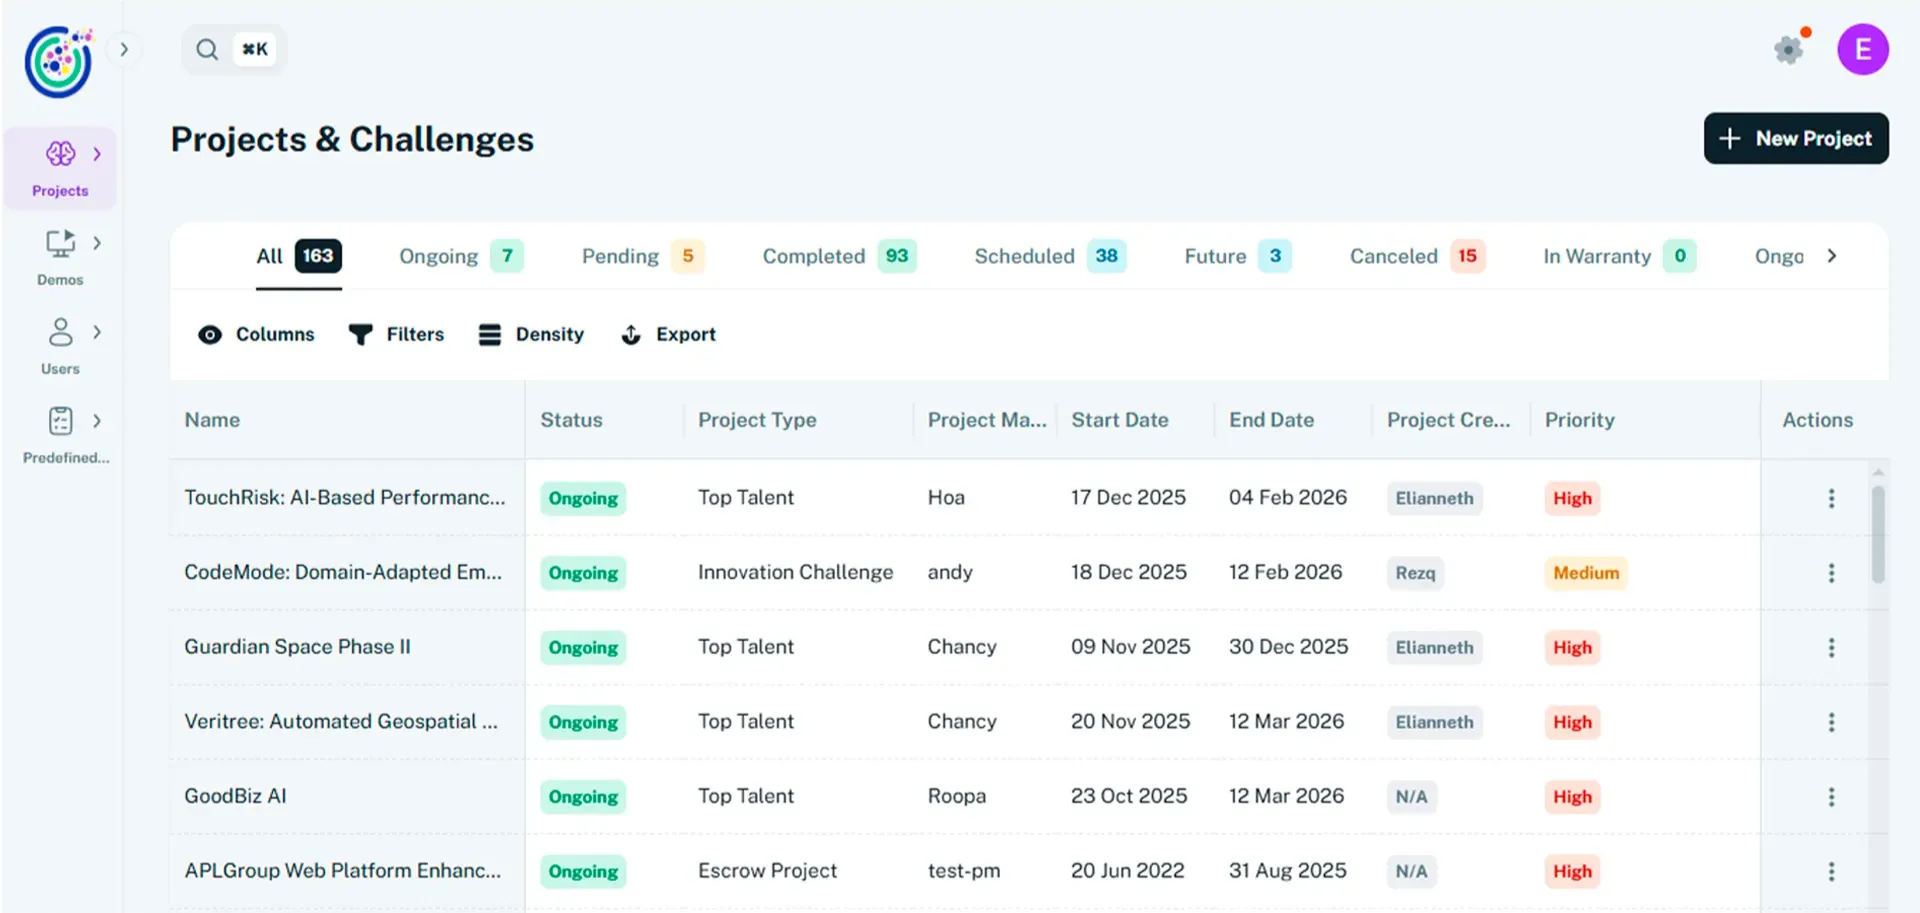
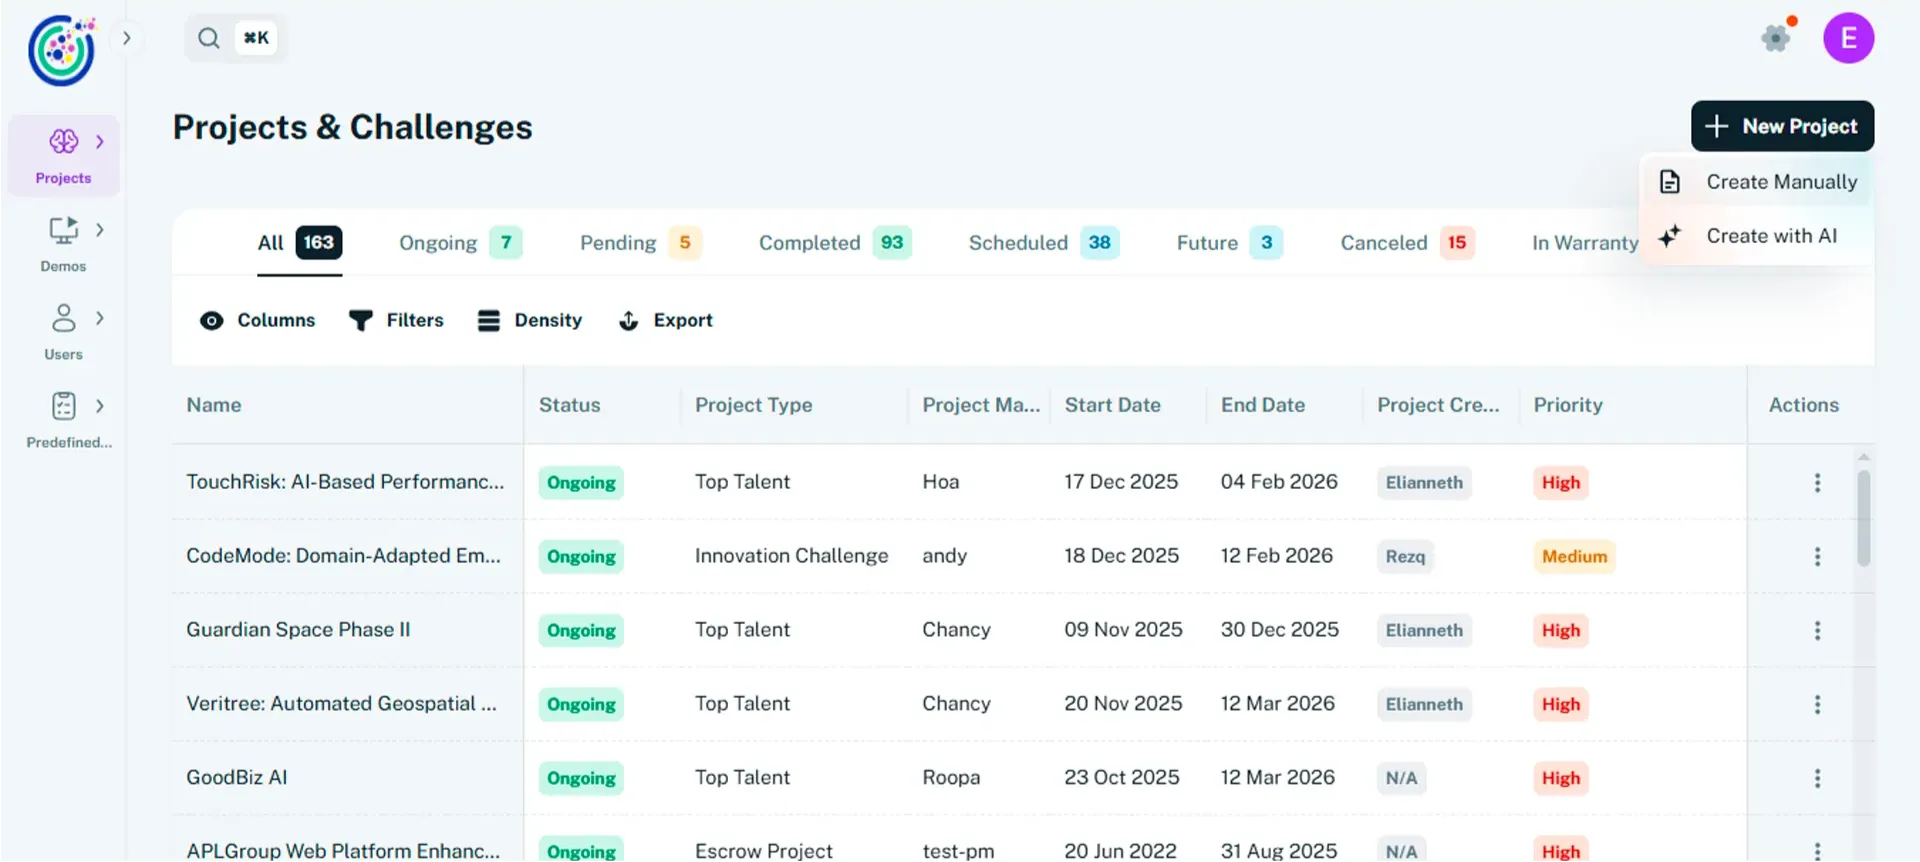
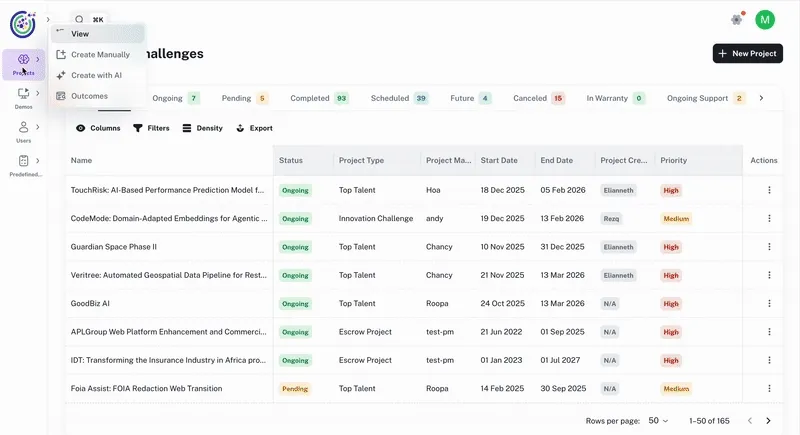
Section titled “Open the project form”- From the sidebar, select Projects. You can also use the shortcut New Project
- Click Create manually to open the project creation form.
- The form guides you through defining the core details of your project.
-
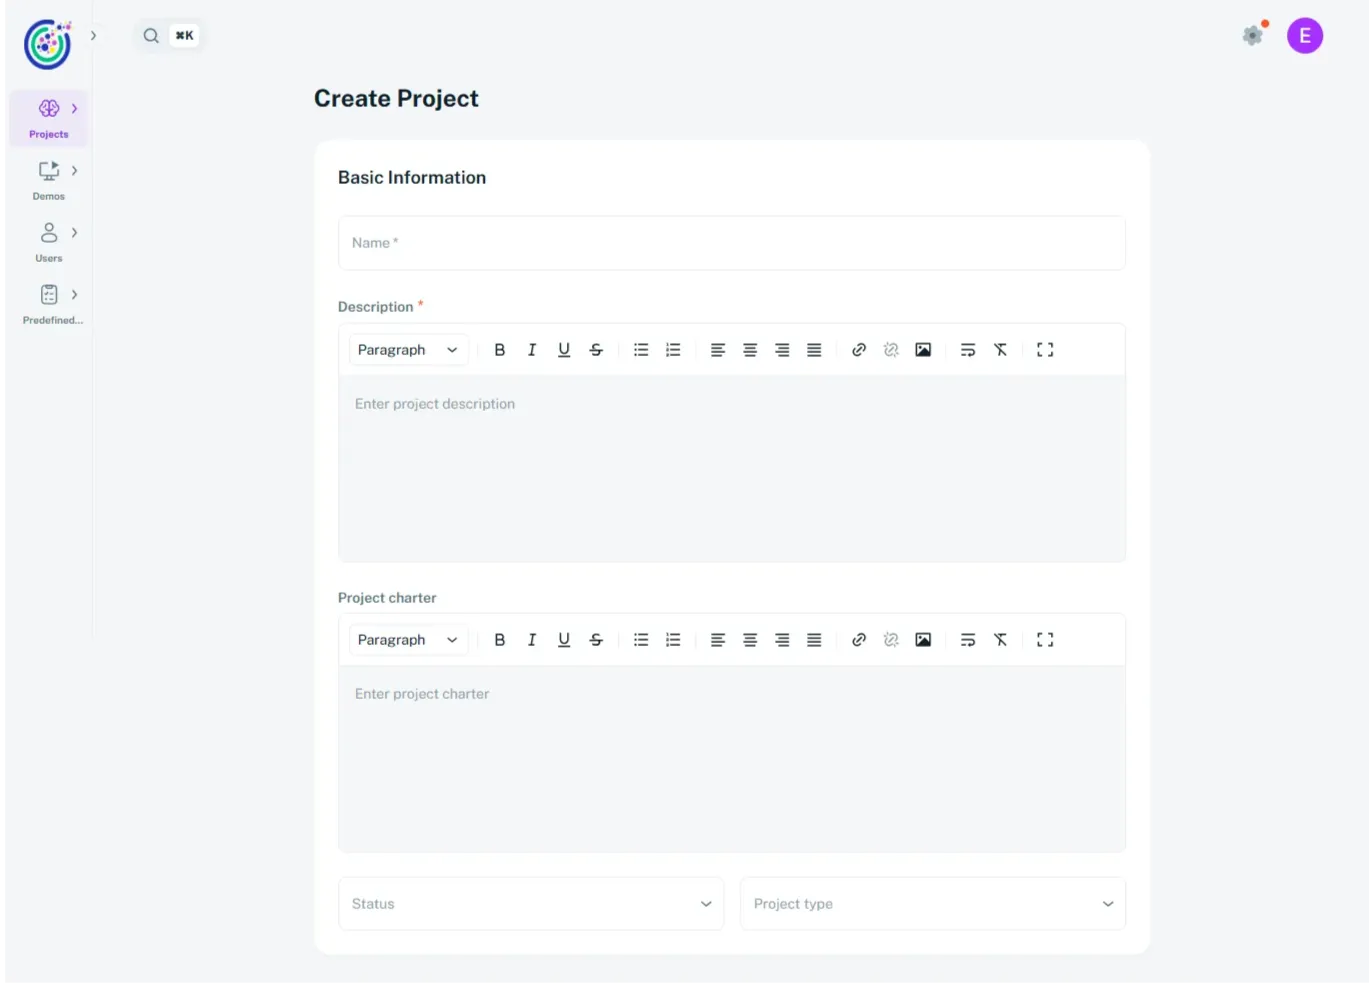
Set up project details
Section titled “Set up project details”- Enter a project name and description. These fields are required, and the project name must be unique.
- Use the Project Charter to describe objectives, scope, success criteria, and delivery expectations.
- Format the charter content using headings, bullet points, and links as needed.
- Select the project status to reflect the current stage (for example, Future / Scheduled or Ongoing).
- Choose the project type that best represents the initiative.
-
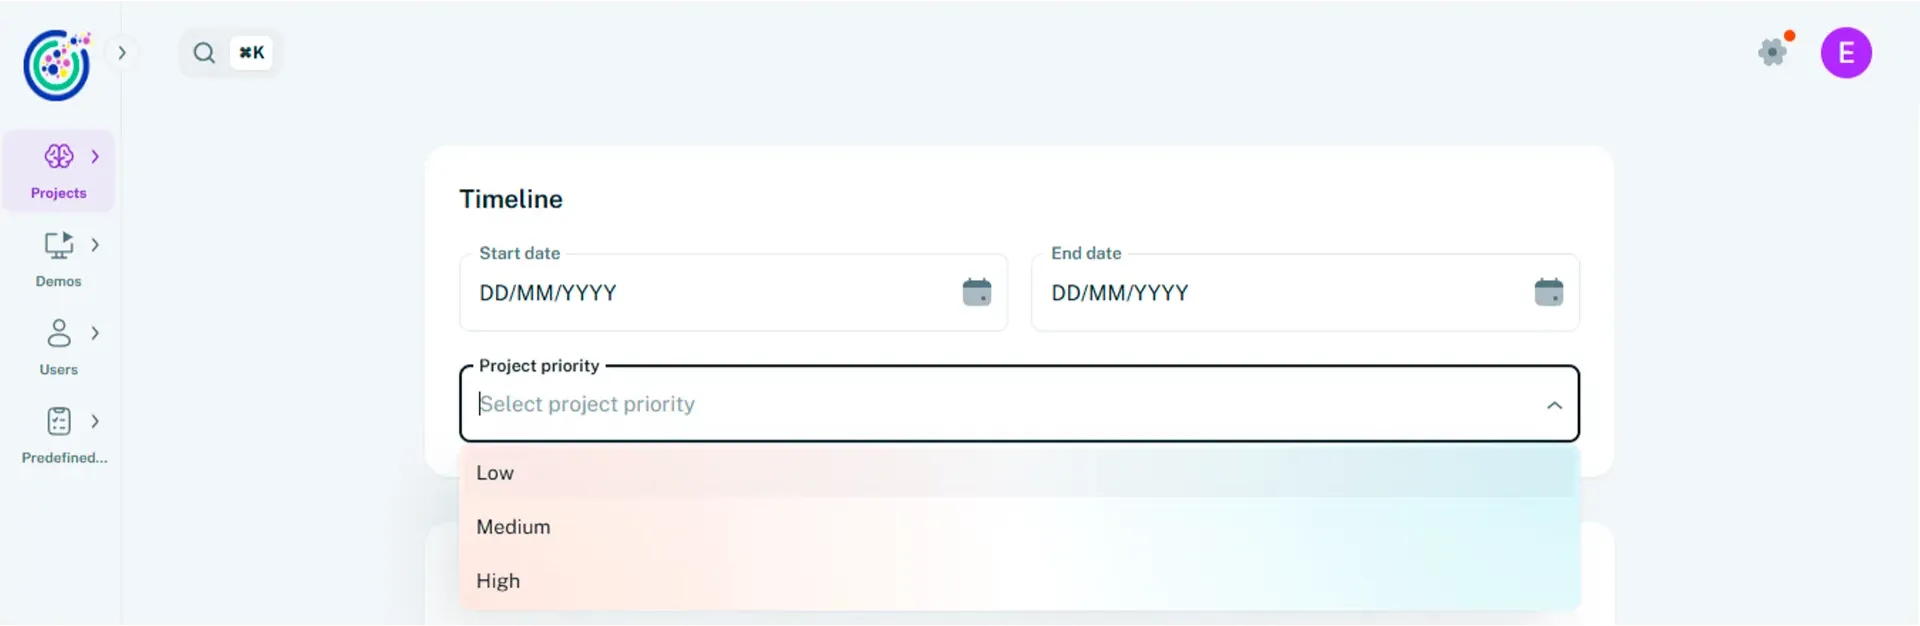
Define the timeline and priority
Section titled “Define the timeline and priority”- Select a Start date and an End date to define the project timeframe.
- Choose a Priority level (Low, Medium, or High).
- Use these settings to align planning and stakeholder expectations.
-
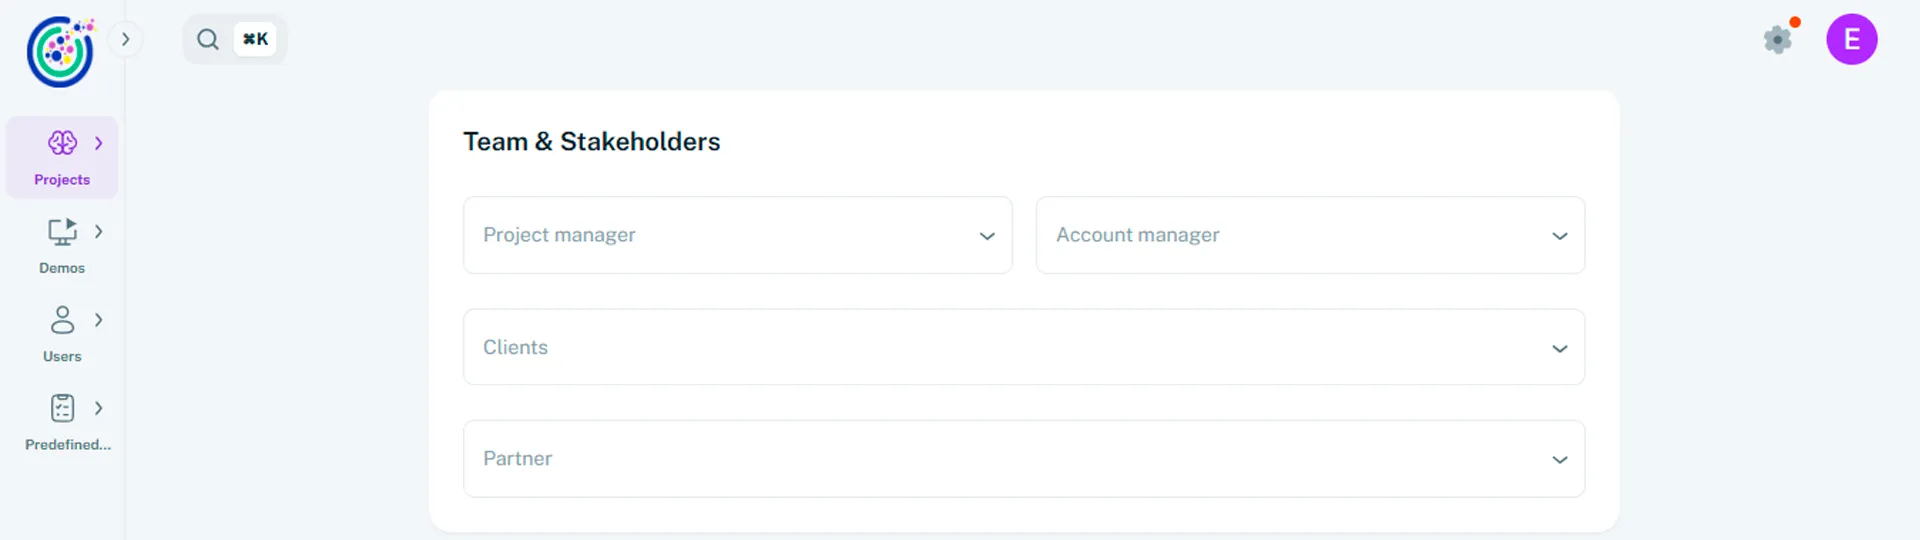
Assign team and stakeholders
Section titled “Assign team and stakeholders”- Assign a Product Owner to oversee delivery.
- Assign an Account Manager to manage communication and relationships.
- Select the Client (individuals within an organization). Multiple clients can be added
- Select the Partner (the organization itself).
-
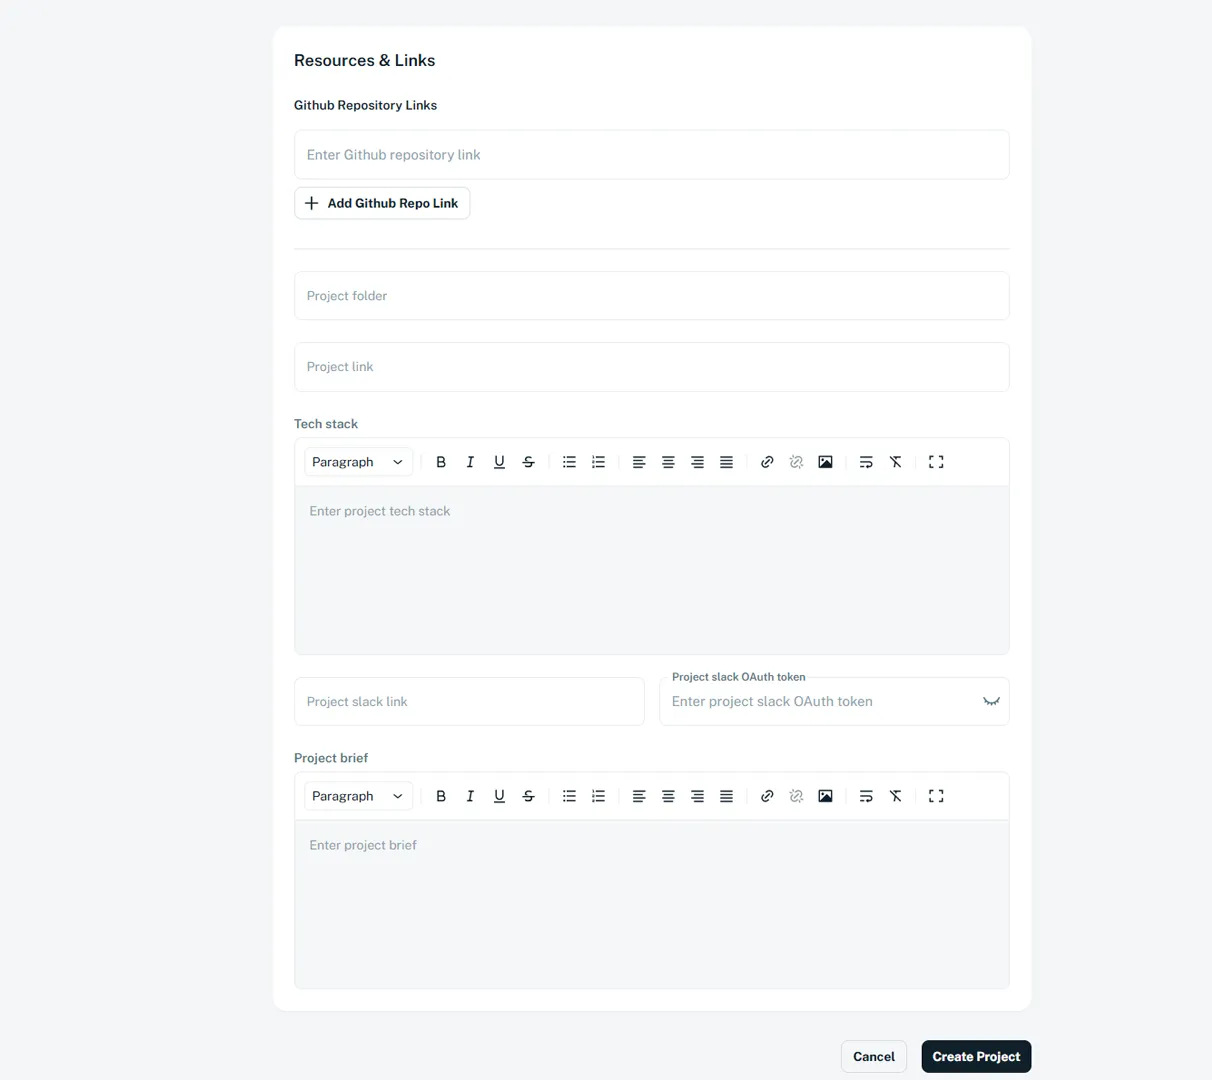
Add resources and links
Section titled “Add resources and links”- Add one or more GitHub repository links for the project.
- Include a shared Project Folder for documentation and assets.
- Specify the Tech Stack used across the project.
- Optionally, add a Slack link for project communication.
- Add a Project Brief to summarize the project’s purpose and expected outcomes.
-
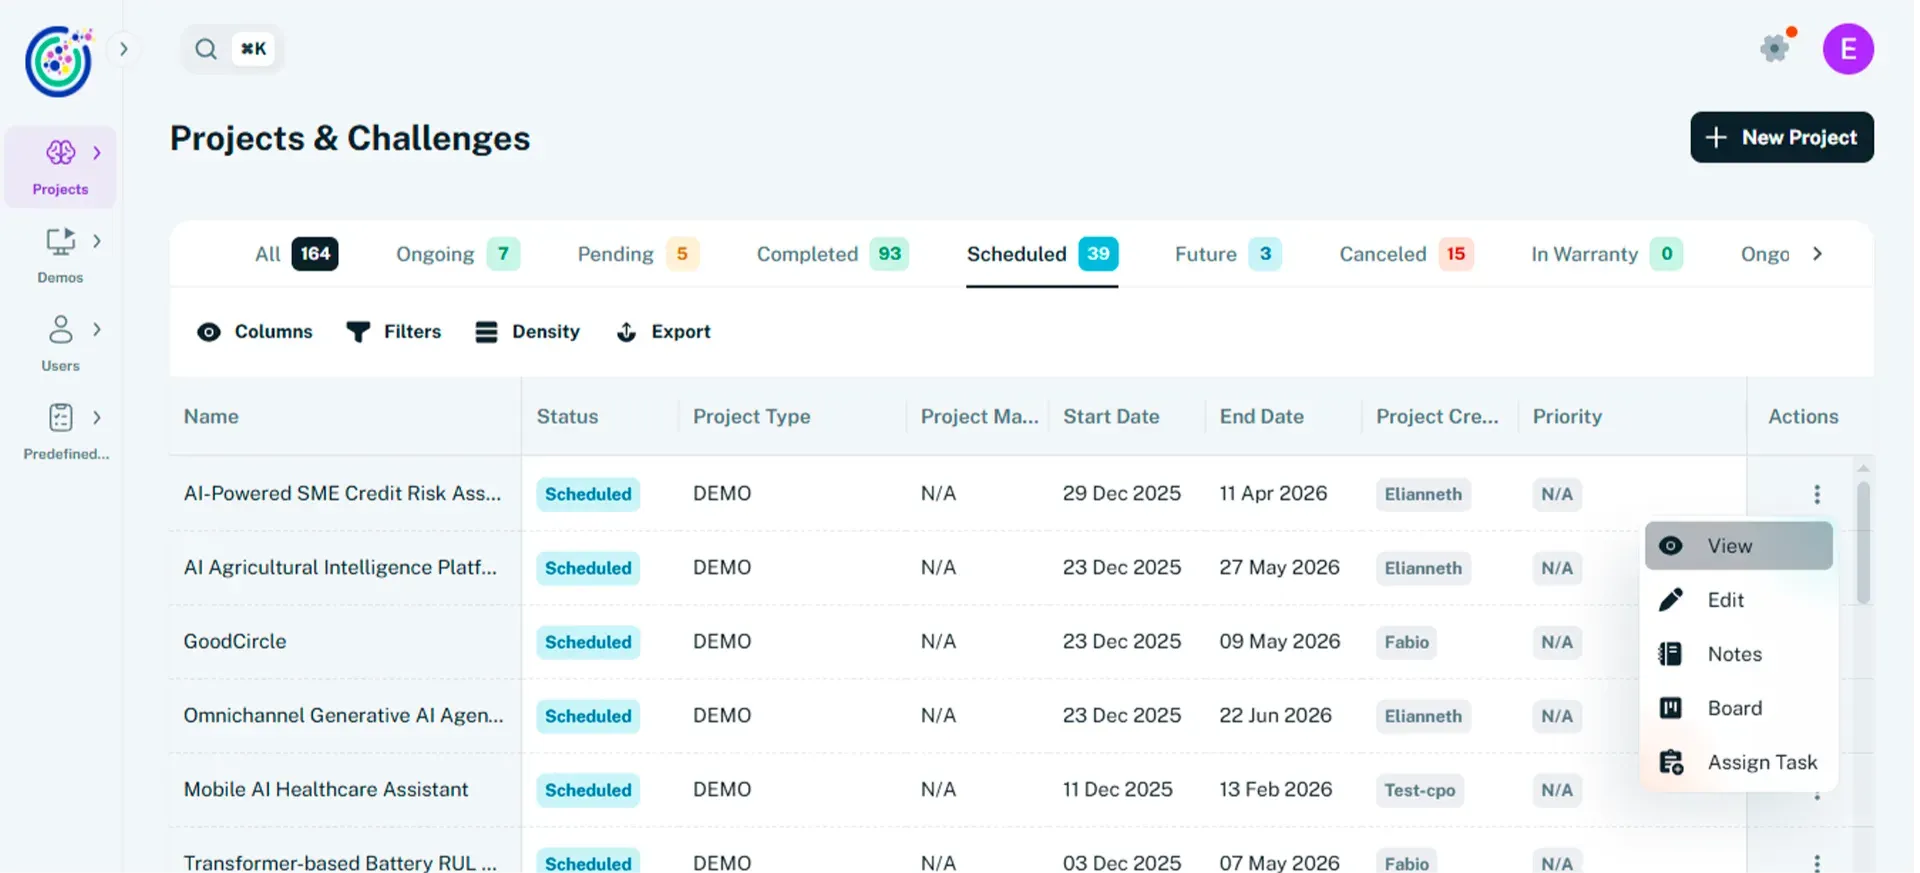
Create and view the project
Section titled “Create and view the project”- Click Create Project once all required information is complete.
- Umaku generates the project workspace automatically.
- Go to the Main Page.
- Select the project type and open the project to access its dashboard.
- Continue refining details and managing execution from the project view while the project is progressing.
Use Create with AI when you want Umaku to help you transform an initial idea into a structured, execution-ready project. By answering a short set of guided questions, Umaku analyzes your inputs and generates a project draft that you can review, refine, and finalize.
-
Start the AI project flow
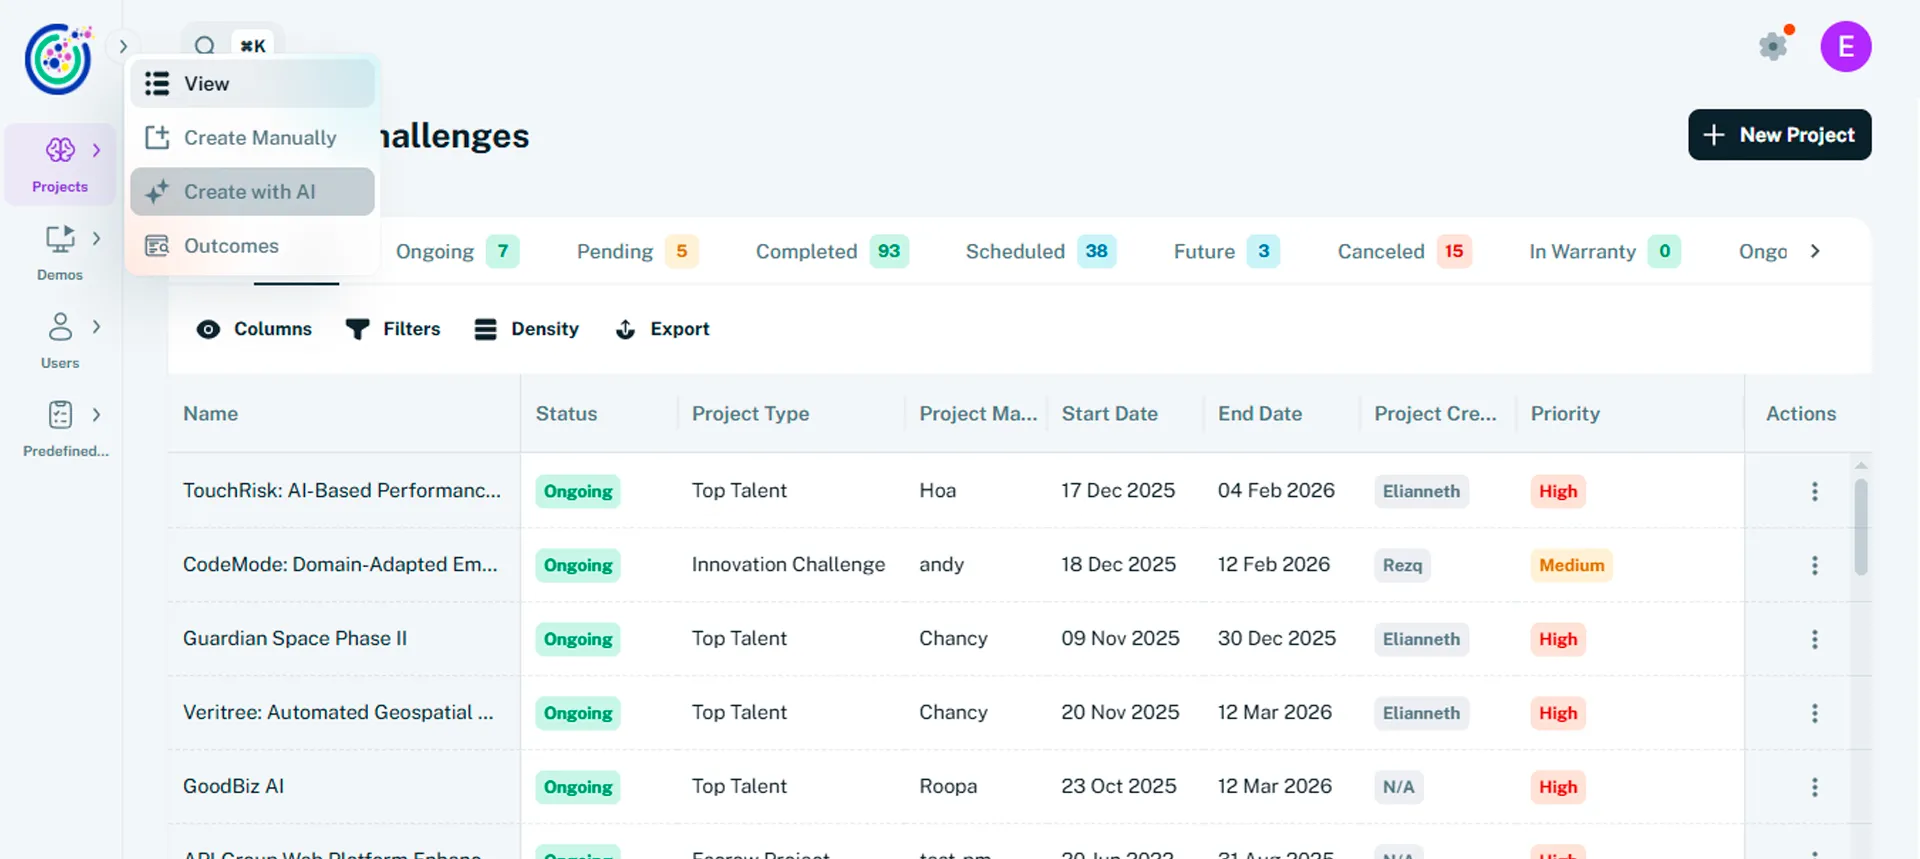
Section titled “Start the AI project flow”- From the sidebar, select Projects. You can also use the shortcut +New Project
- Click Create with AI to open the AI-assisted project creation flow.
- Umaku guides you through a set of questions designed to capture both business and technical context.
-
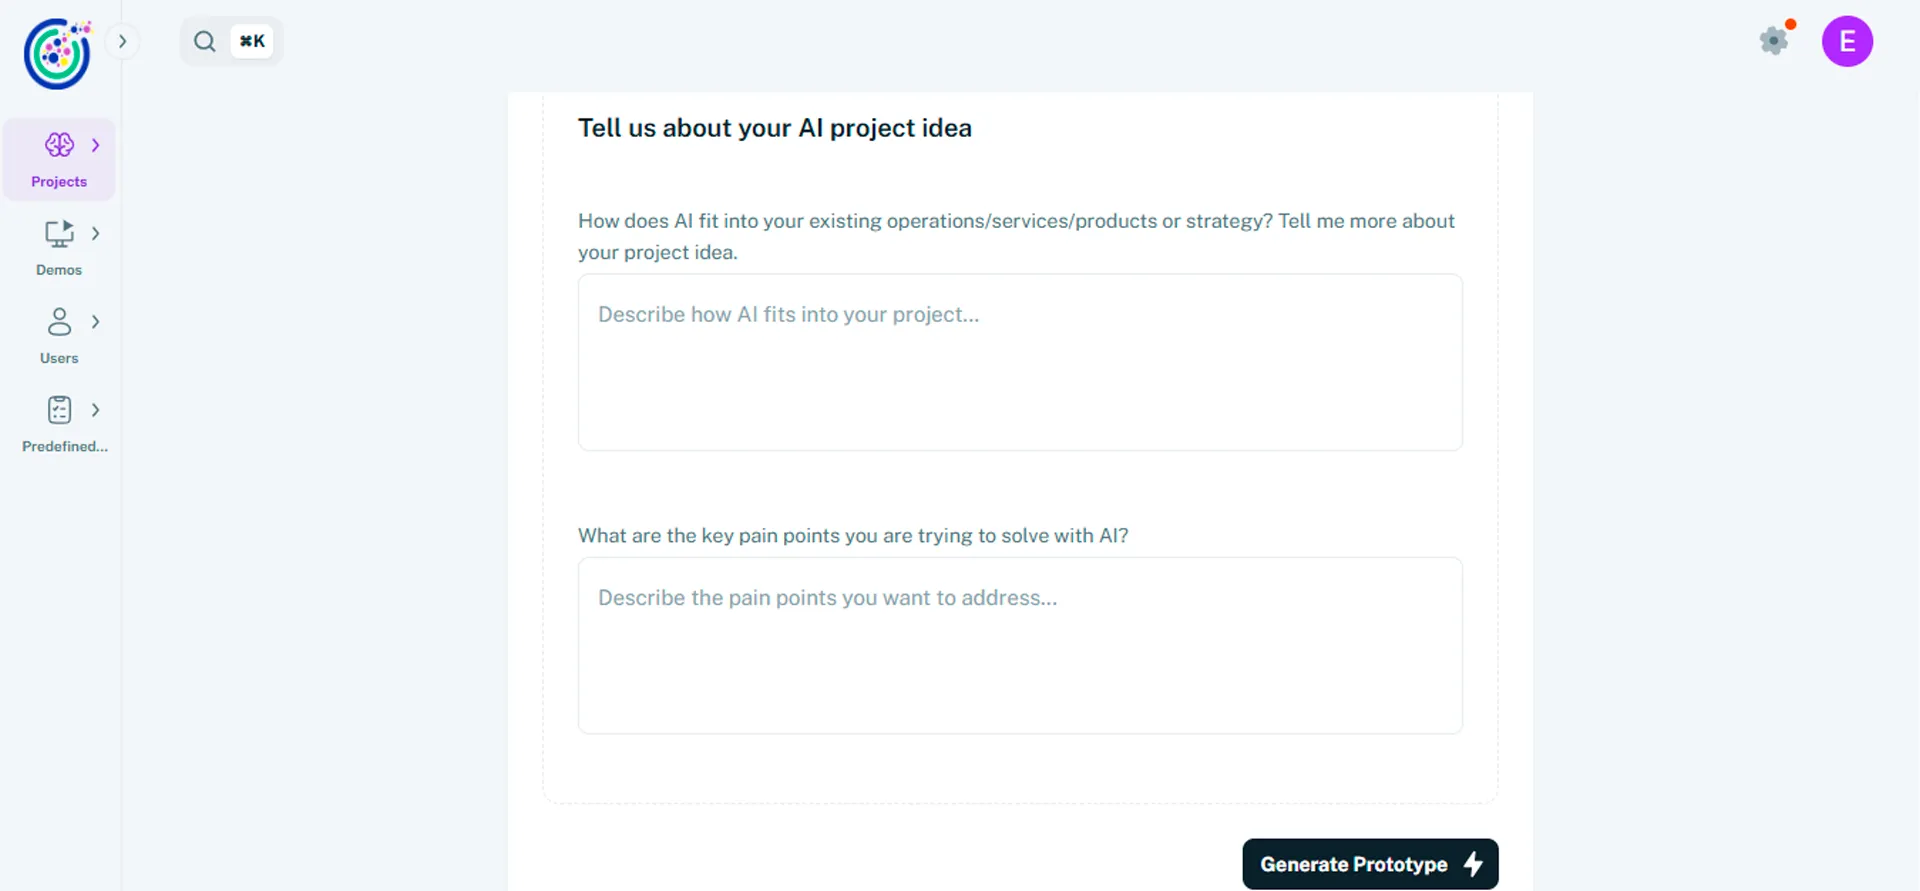
Describe your project idea
Section titled “Describe your project idea”This step captures the core context of your AI initiative and is required to proceed.
- Explain how AI fits into your existing operations, services, products, or strategy.
- Describe your project idea and what you are trying to achieve.
- Identify the key pain points or problems you want to solve using AI.
- Provide clear and specific answers to help Umaku generate accurate and relevant results.
Once all required fields are completed, click Generate Prototype. Umaku analyzes your inputs and creates an initial project draft.
-
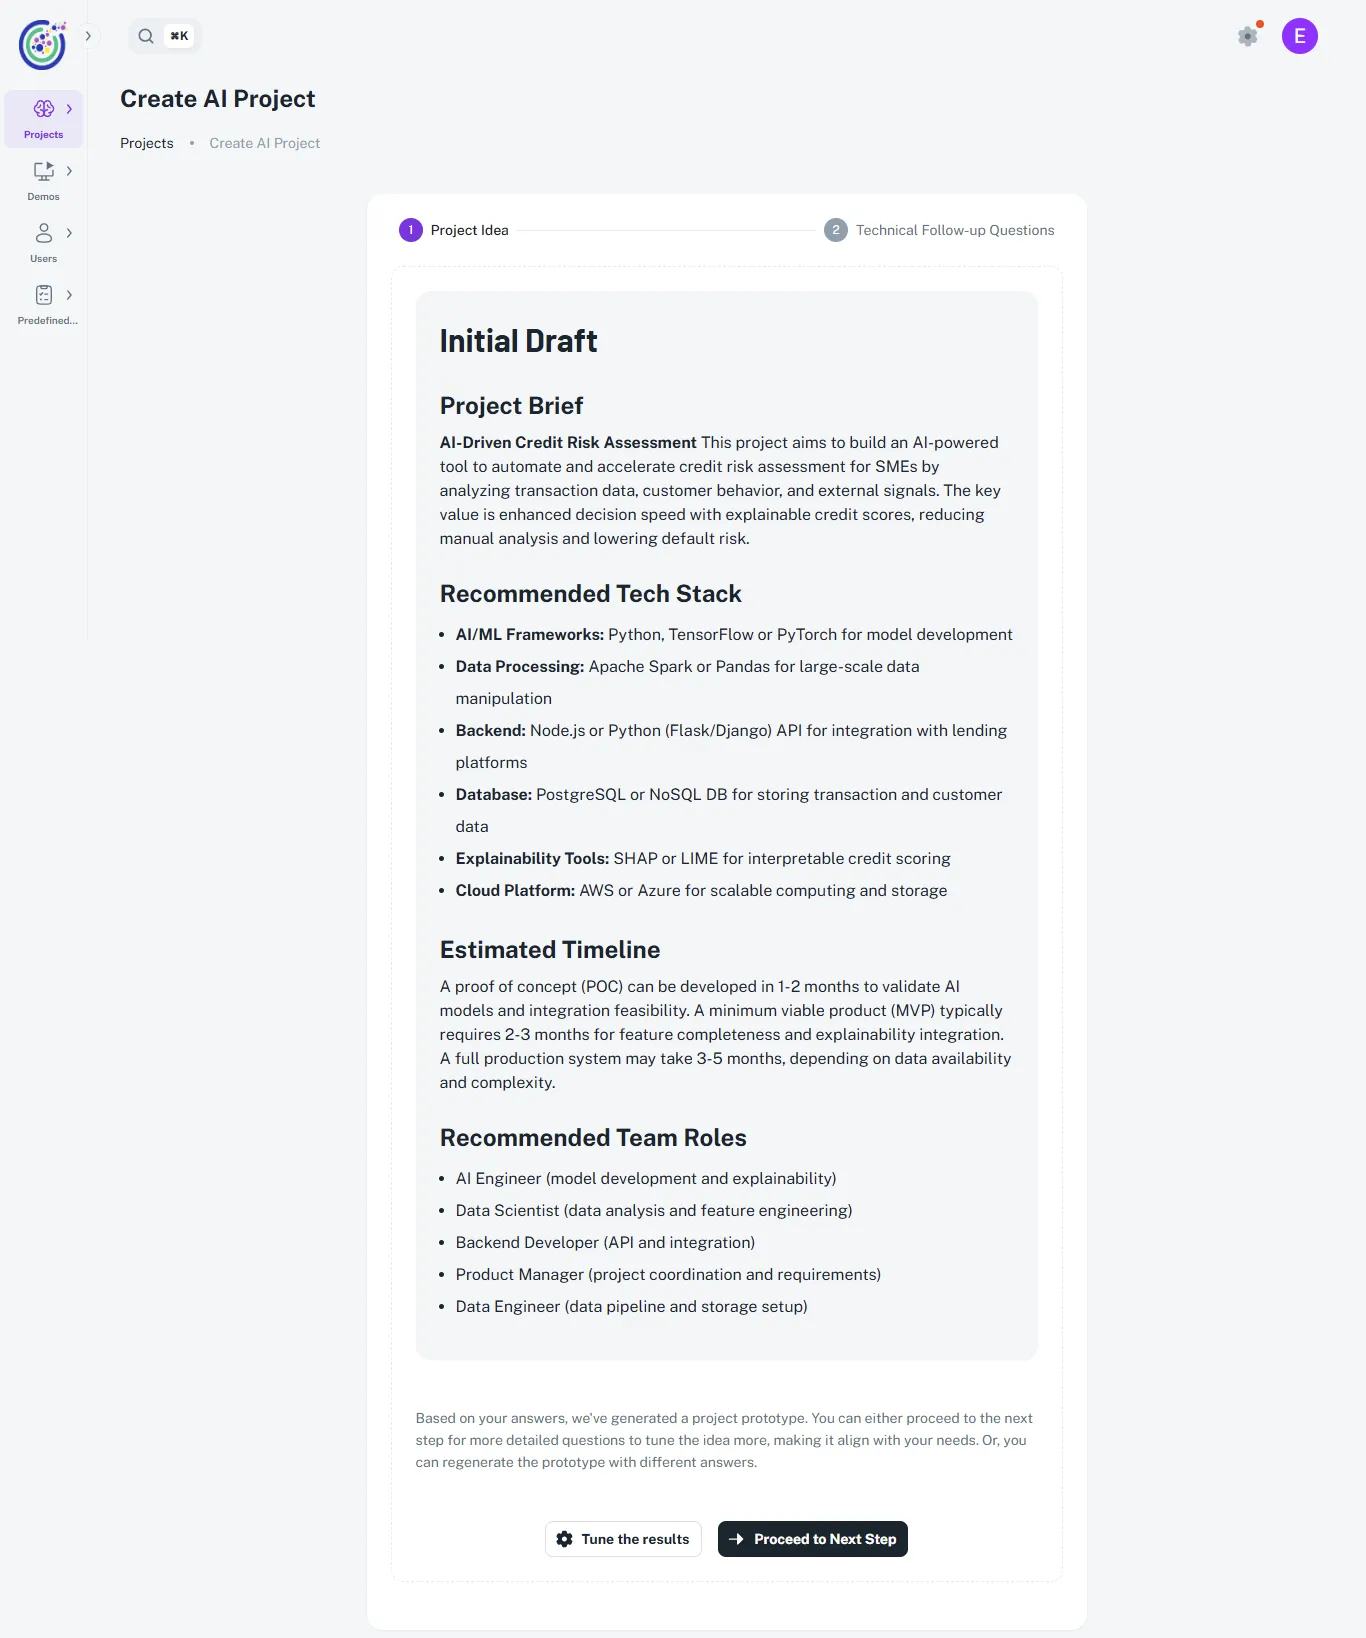
Review and refine the initial draft
Section titled “Review and refine the initial draft”After the generation, Umaku presents an Initial Draft of the project based on your responses.
- Review the Project Brief, which summarizes the initiative and its goals.
- Review the recommended tech stack, tailored to your use case.
- Review the estimated timeline, including phases such as Proof of Concept (POC), MVP, and full delivery.
- Review the recommended team roles generated from the project scope.
-
Define technical requirements
Section titled “Define technical requirements”This step captures the technical context needed to design a realistic and execution-ready AI solution. All questions in this section are required.
- Define the platforms or channels the AI solution should support, such as web, WhatsApp, or email.
- Describe how the AI should integrate with existing systems, including CRMs, databases, or internal tools.
- Specify data access needs and operational expectations, such as real-time data handling or response speed.
- Highlight any key constraints, including budget, timelines, security requirements, or regulatory compliance.
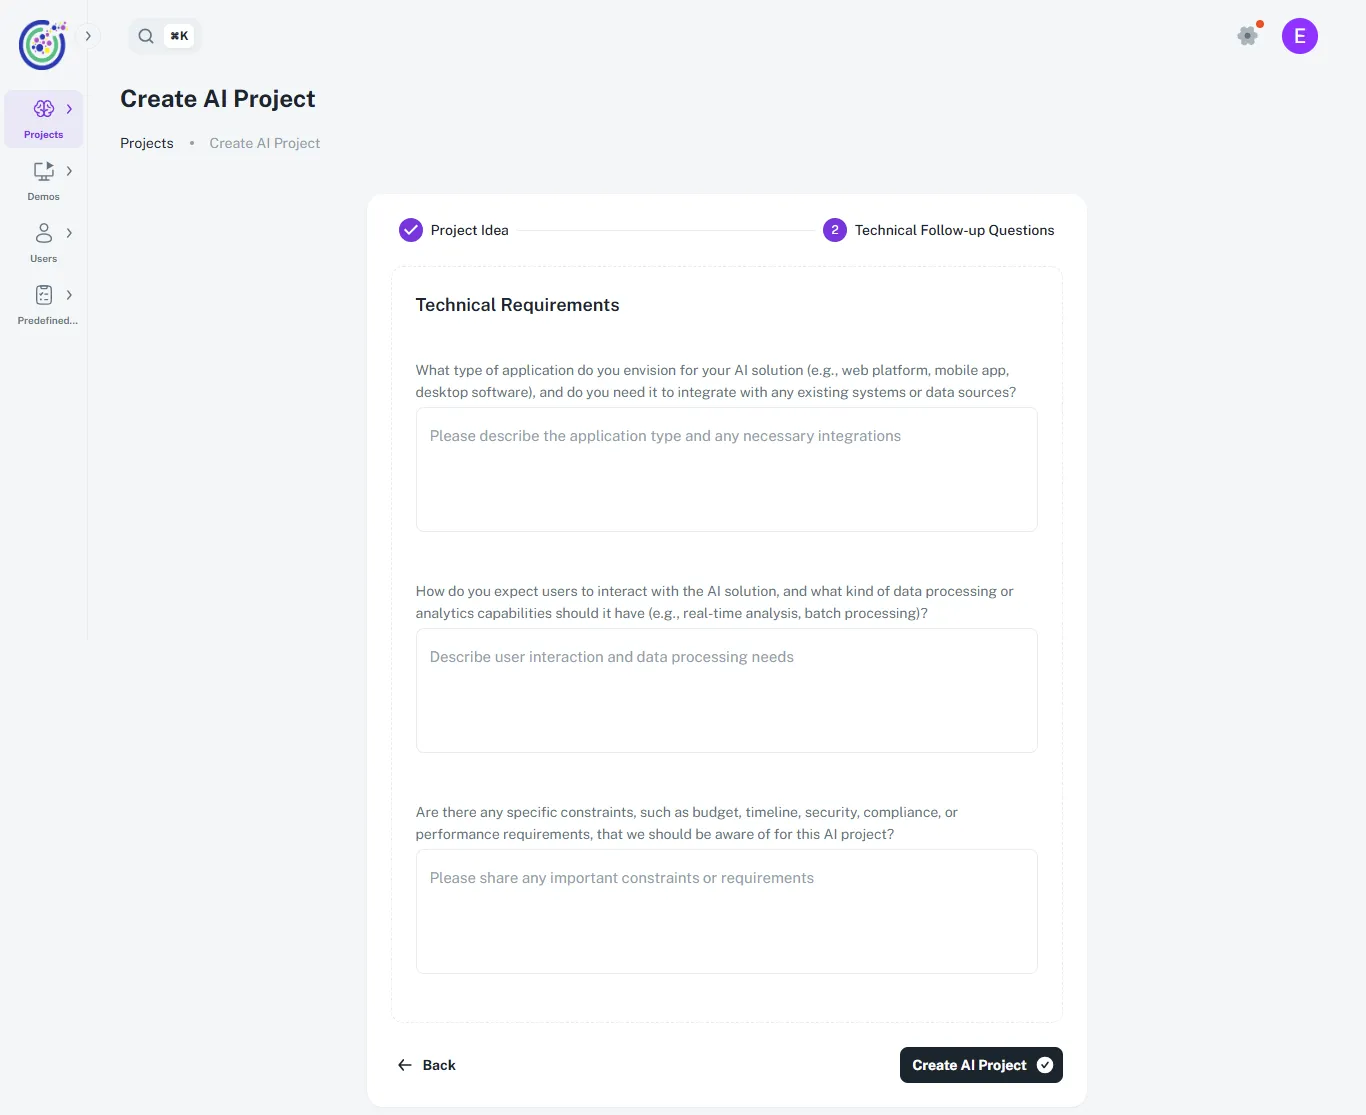
Providing a clear technical context helps Umaku generate a project that is feasible and aligned with your operational environment.
-
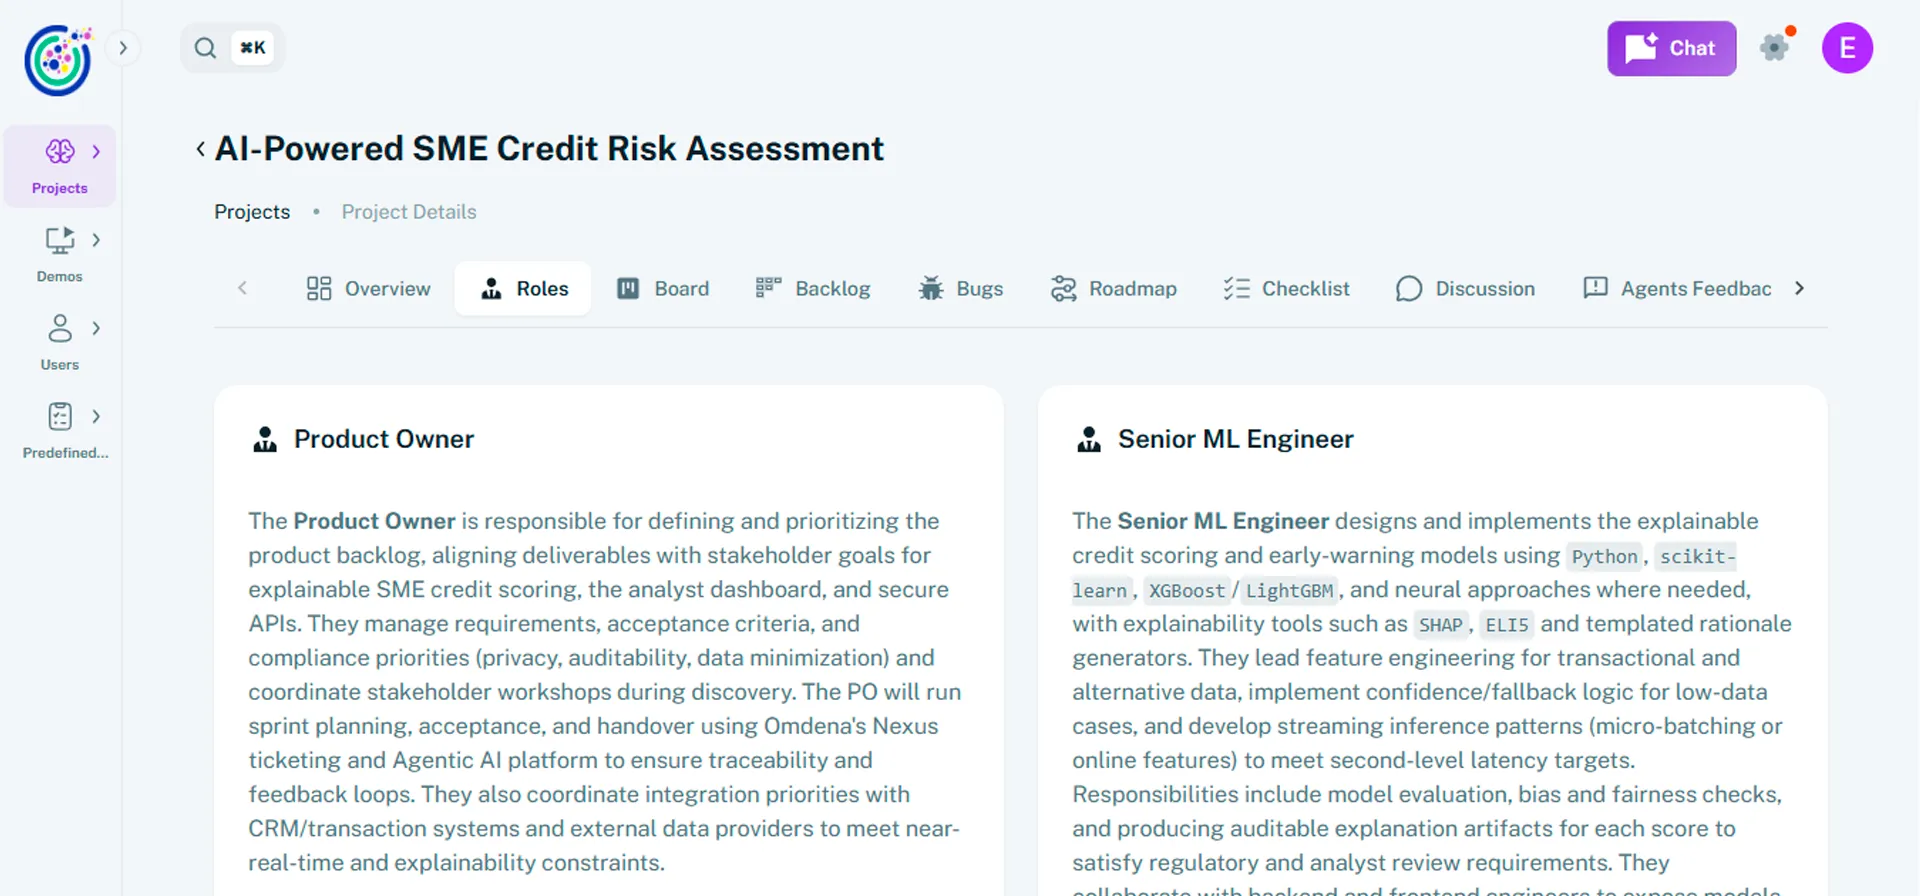
Create and view the AI project
Section titled “Create and view the AI project”- Click Create AI Project after completing all required fields.
- Umaku generates the project, which typically takes a few minutes.
- Once completed, the project appears in Projects with the status Scheduled.
- Open the project to access the full workspace, including Overview, Team, Board, Roadmap, and Roles.